During the last weeks I have been working on tranforming my Sunhokey Prusa i3 to the Hypercube design by Tech2C (Tech2C’s Youtube Playlist, Hypercube on Thingiverse ).
His design is quite easy to follow and build, so I’m not going to display every steps I made but I want to show some of my changes and difficulties I experienced while upgrading the printer.
Prologue
In August 2015 I decided to have a look into 3D-printing but didn’t want to spend thousands of Euros on a Ultimaker, just to find out later, that I wouldn’t pursue it further.
So, after some research, I found one of the cheapest printers online in China (where else?) for about EUR 230,-. With customs and taxes it got to ~300,- but still really cheap compared to other printers available at that time. Nowadays you can get printers with equal quality from Amazon much cheaper, without the hassle of importing it directly from China.
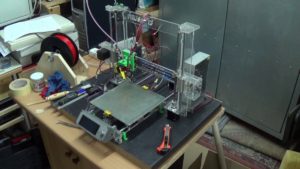
After some modifications and tinkering (E3D Lite6 Hotend, new X-Carriage,…) I was able to print in a nice quality, enough for my needs.
Still, about 40-45mm/s was the highest print speed I could reach, and at this speeds, quality started to degrade rapidly.
I was looking for alternatives to my i3 design, and since I could see a friend’s Ultimaker in action I decided to build a new printer on the Ultimaker design. During my research I found a guy, who upgraded his also cheap Prusa i3 to a coreXY system with most of the parts of his old printer, and was hooked.
Ressources
The following parts of the old Prusa i3 have been reused in the Hypercube:
- E3D Lite6 hotend
- MKS Gen2Z control board
- SmartLCD
- 4 of the 5 motors (Z on the hypercube only has 1 motor)
- heatbed
- power supply
- endstops
- the old y guiderails of the prusa for the the z rails on the hypercube
- the old z guiderails for the y rails
Thanks to Tech2C’s BOM it was really easy to get most of the parts cheap from Banggood or other Chinese sources on Ebay. My biggest challenge was to find the aluminium profiles.
I managed to find an Austrian online shop to get 2020 profile, and supporting a “local” dealer made me really comfortable. Unfortunately, the profiles they have available are the “Type I” ones, which means, the slot of the profile is just shy of 5mm wide. The T-nuts I got from Banggood are 6mm wide, which would require B-Type profiles.
I didn’t know it at the time of ordering, so I had to find fitting t-slot nuts. On Ebay I found them available from Germany, but the price tag compared to the Asian ones is quite high: EUR 25,- for 100 nuts, compared to about EUR 7-8. Nevertheless, the quality of the European t-slot nuts is really superb, they also have a springloaded ball that holds the nut in place, even when in a vertical position.
All in all I spend about EUR 170,-, but not all of it went completely into the upgrade. I have about 90 t-slot nuts left for other projects, quite some 2020 cutoffs and a lot of screws I will use up in the future anyways.
I think, the parts for the upgrade alone are about 130,- Euros.
Size
Following Tech2C’s video documentation, I thought that I don’t want my printer to end up too small, without making any changes later, like Tech2C.
I also wanted it to be able to print higher than the 180mm my old Sunhokey could, so I designed the whole printer in Sketchup for a build volume of 200x200x250mm:
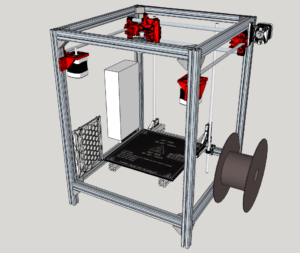
So after checking the movement of the printhead in Sketchup I came up with the following dimensions for the profiles:
x-Axis: 320mm (335mm, see below)
y-Axis: 345mm
z-Axis: 490mm
Since the movable mass is greater in Y direction then in X, the whole cube is longer in Y for stability reasons.
I don’t know why, but after assembling everything, I ended up with only 190mm in X 🙁 so I would recommend 335mm for the x-Axis to have enough room for 200mm print width. At the moment I can live with it and I’m not sure, if I’m going to update the frame with longer x-profiles in the future.
Changes/Differences
Tech2C’s design is very sound, so I did nothing fancy to the original printer. There are a lot of upgraded parts on Thingiverse and my Sunhokey had different parts which I reused on my printer.
I used the following parts from Al’s updates, the captive nuts make mounting much easier:
- fan duct
- E3D mount
- z shaft clamp
- z endstop mount
To give the bed more stability on the Z-axis, I used the Z Carriage version of thooijer at Thingiverse.
My Sunhokey had a L-shaped bracket to mount the extruder and the motor to the frame. The 4mm slots were milled to 5mm and the whole extruder/motor package was mounted to the 2020 profiles.
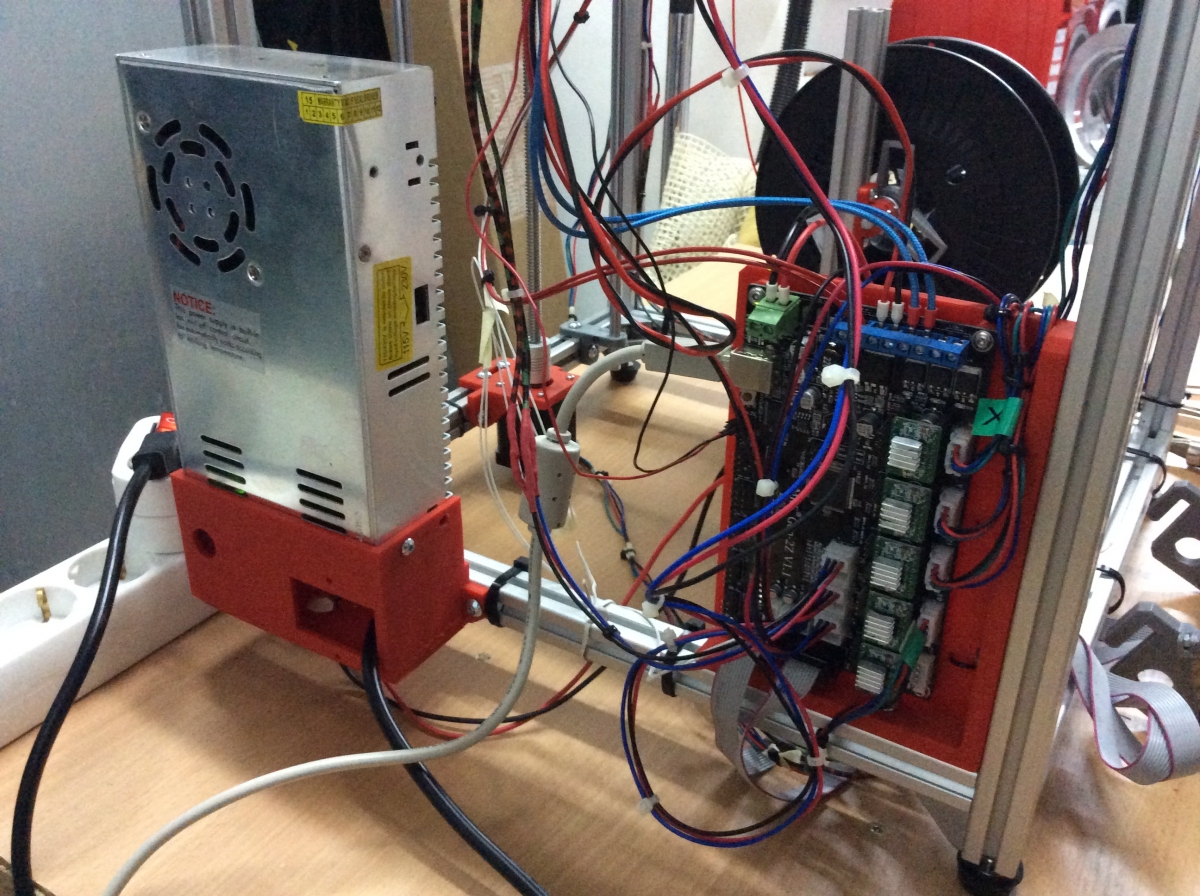
Instead of buying a new Ramps 1.4 board I’m still using my MKS Gen2Z 1.2. To mount the board to the frame I designed my own mounting plate in FreeCAD. (Download at Thingiverse)


Conclusion
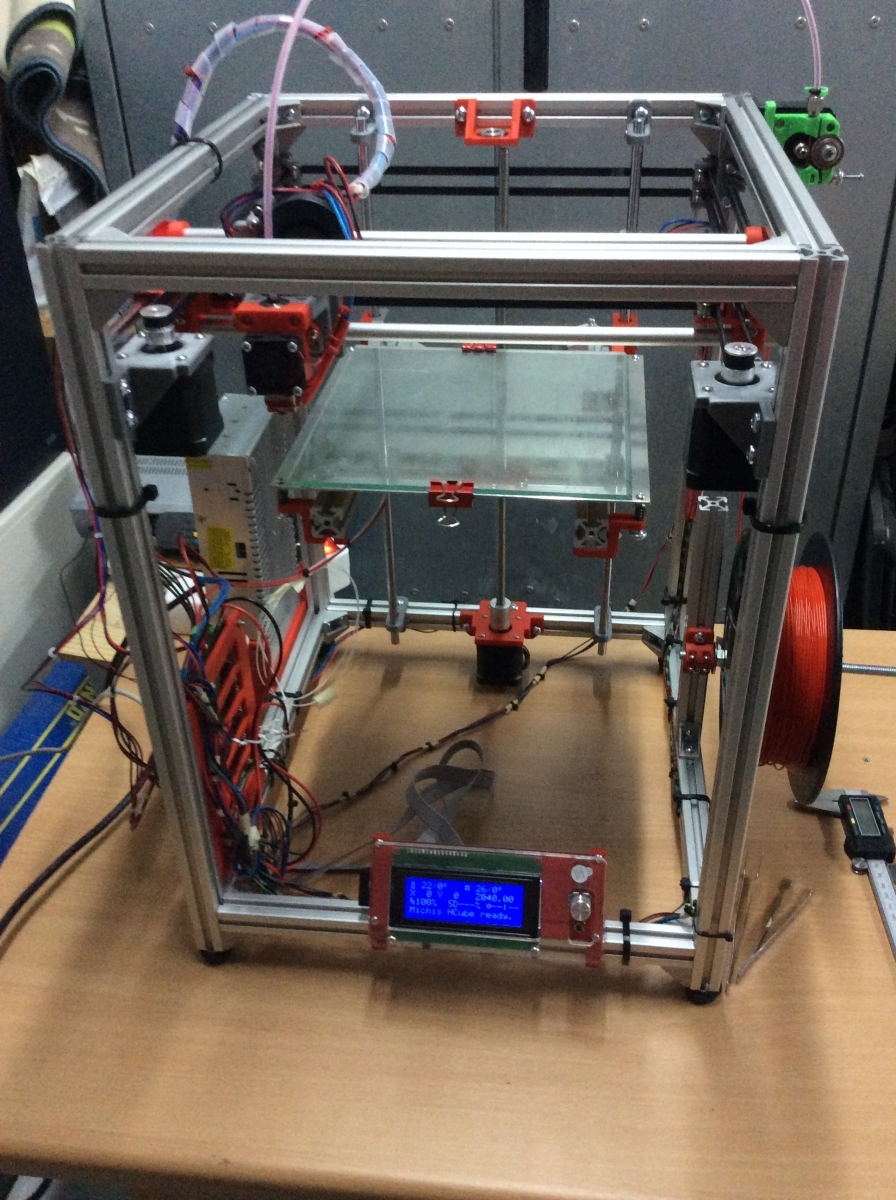
The upgrade/new build enhanced print quality A LOT! When dismantling the Sunhokey, I found out that the y-axis linear guide rails were wobbling about 0.5mm in their mounting holes in the frame. Add this to the already wobbly acrylic bed assembly and it’s a wonder I could print in such a good quality.
I’m still in the process of setting my slicer up to the new hardware, print speeds up to 80mm/s did show fantastic quality compared to the old setup in a much shorter time.
The money I spend to get the quality I get from the new printer is worth every cent!